
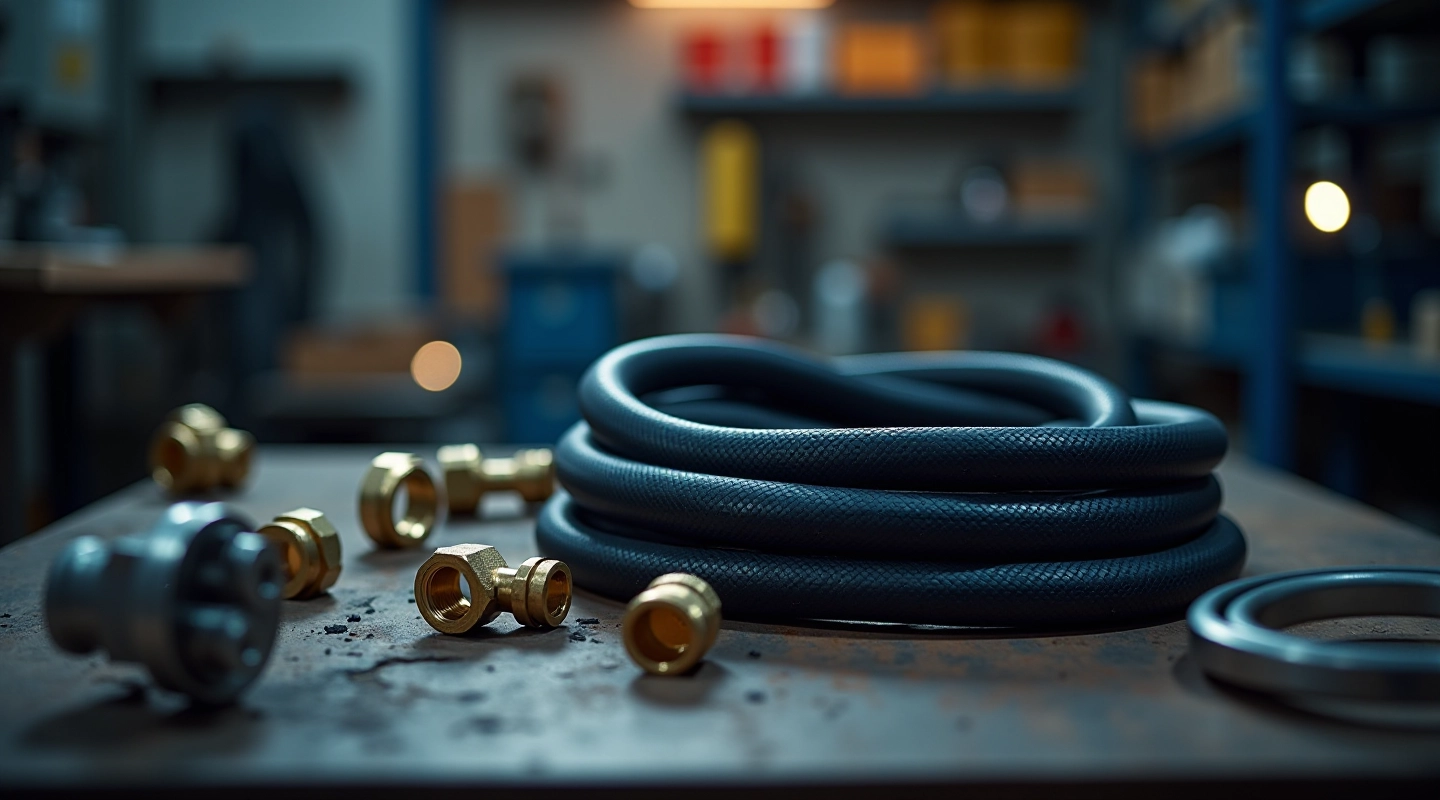
Understanding SAE Flange vs. JIC Fittings
Learn the key differences between SAE and JIC fitting standards. We'll cover pre-assembly considerations and when to use each type.
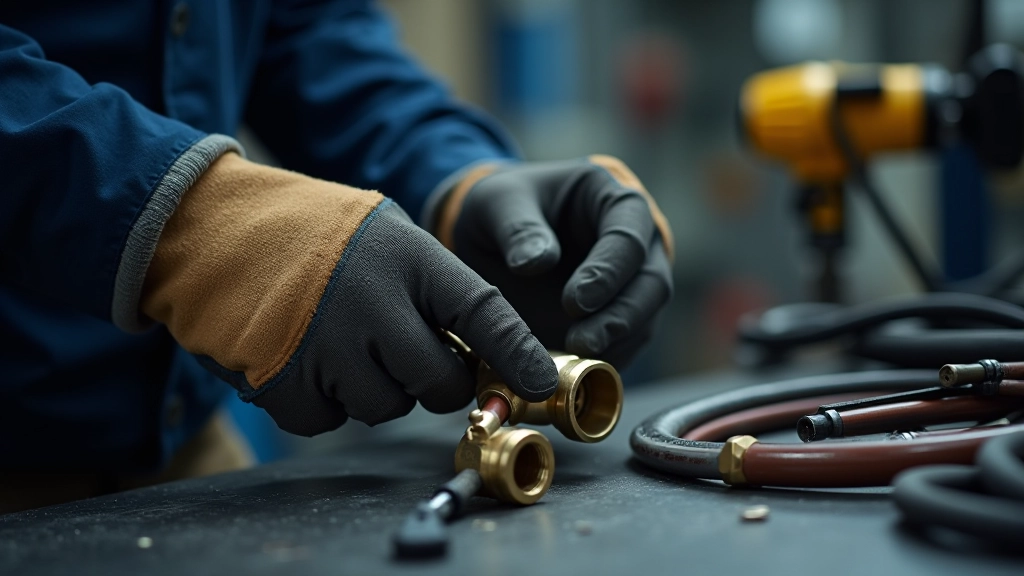
Step-by-step overview of proper hose assembly techniques. Covers measuring, cutting, crimping, and testing procedures that'll save time on your production line.
Written by the vestroline editorial team, focused on practical, honest guidance for industrial hydraulic hose and fitting needs.
Proper hose assembly isn't just about connecting fittings together. It's the foundation of a reliable hydraulic system. When you get it right — measuring accurately, cutting cleanly, crimping with the right pressure — you're looking at systems that perform consistently and last years longer than poorly assembled alternatives.
We've seen production lines lose hours to leaks that could've been prevented with correct assembly technique. The good news? The fundamentals aren't complicated. You'll understand the entire process in less than an hour, and you can start applying it immediately.
You'll measure from the center of one fitting's bore to the center of the other. Most mistakes happen here. We recommend measuring twice and cutting once — literally. Mark your hose with a marker at the cut point, step back, look at it from different angles, then cut. A 2-inch error means re-doing the entire assembly.
A diagonal or ragged cut won't seat properly in the fitting. Use a hose cutter — not a saw, not a knife. The cutter makes a perpendicular edge that lets the fitting grip the hose correctly. This takes maybe 30 seconds and prevents leaks down the road.
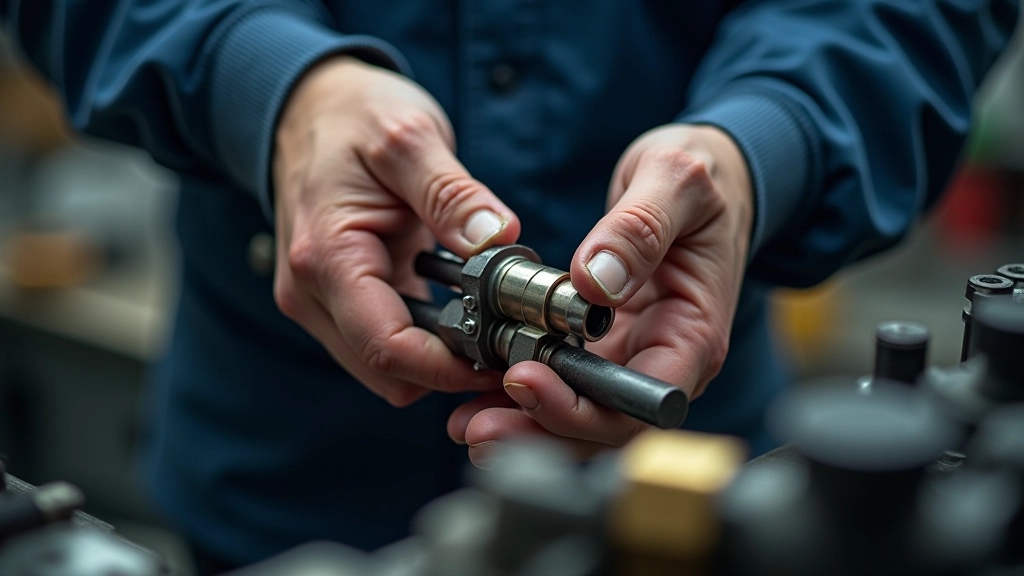
The crimper applies exactly the right amount of pressure to compress the ferrule onto the hose. Too little and it'll slip; too much and you damage the hose interior. Modern crimpers have calibration settings — check yours at the start of each shift. Most systems use 3000-4000 PSI for crimping depending on hose diameter.
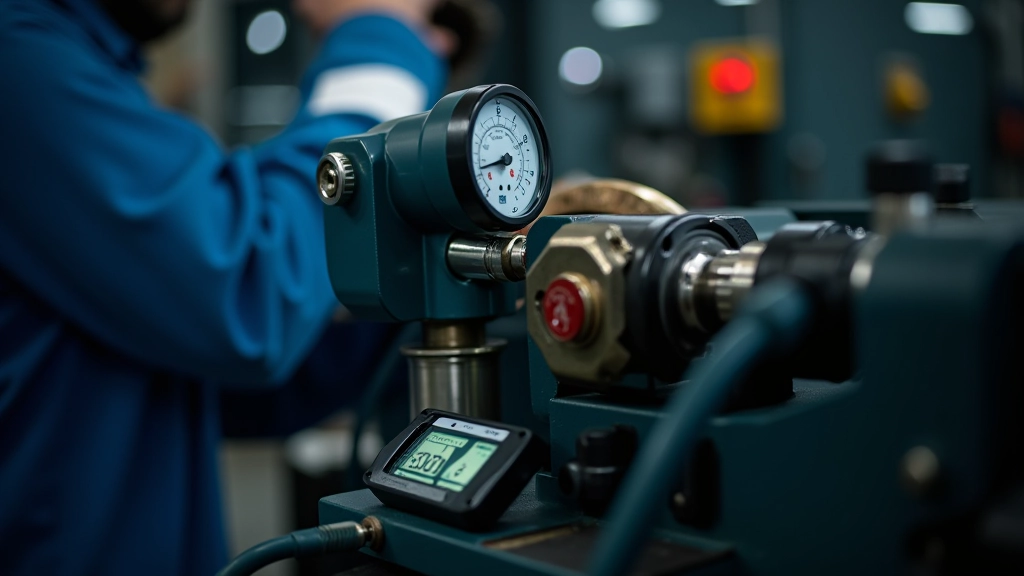
Don't skip this. Pressure test at 1.5 times the system's rated PSI for at least 60 seconds. You're looking for any drips or leaks at the connection points. A small leak now means a major system failure later. We test every single assembly before it leaves our workshop.
This guide provides general information about hose assembly procedures. Actual assembly requirements vary based on system pressure, hose type, fitting standards, and your equipment specifications. Always follow the manufacturer's instructions for your crimper and fittings. Safety standards and regulations differ by region — verify local compliance requirements before implementing any assembly process. When in doubt, consult with your equipment manufacturer or a qualified hydraulic technician.
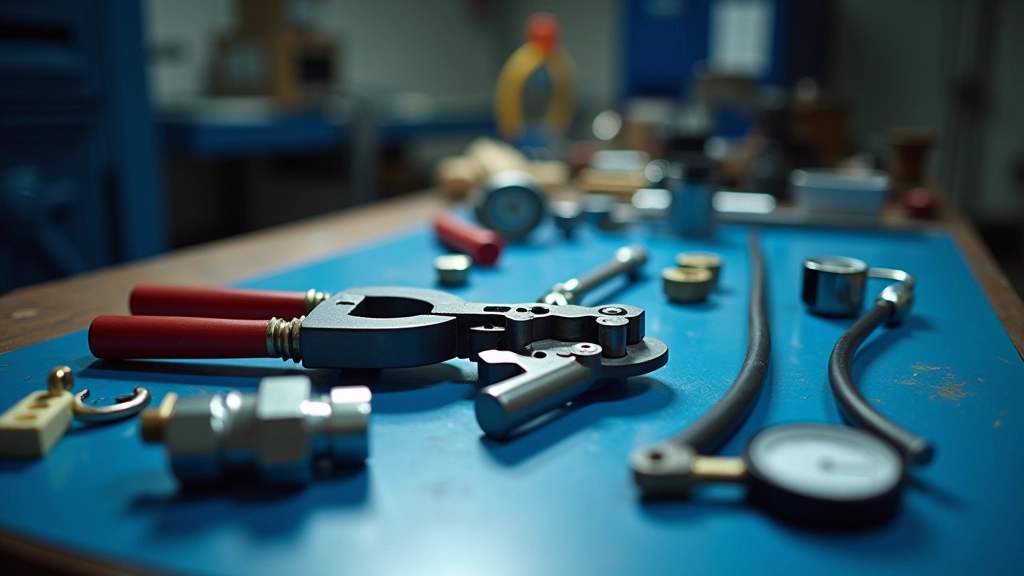
You don't need an enormous toolkit. Here's what actually matters:
After years of assembling hoses and helping production teams, we've noticed patterns in what goes wrong. The encouraging part? These mistakes are all preventable with the right process.
You measure, cut, crimp, then discover the hose is too short by three inches. Now you're re-crimping or ordering a new one. Take 30 extra seconds to verify your measurement before cutting. That's it.
A bandsaw or angle grinder creates rough edges. The ferrule won't grip properly, and you'll get leaks under pressure. A proper hose cutter is $40-80 and saves you hundreds in failed assemblies.
Crimpers drift over time. If you don't calibrate weekly, you might be crimping too soft or too hard. A 10-minute calibration check prevents the majority of assembly failures.
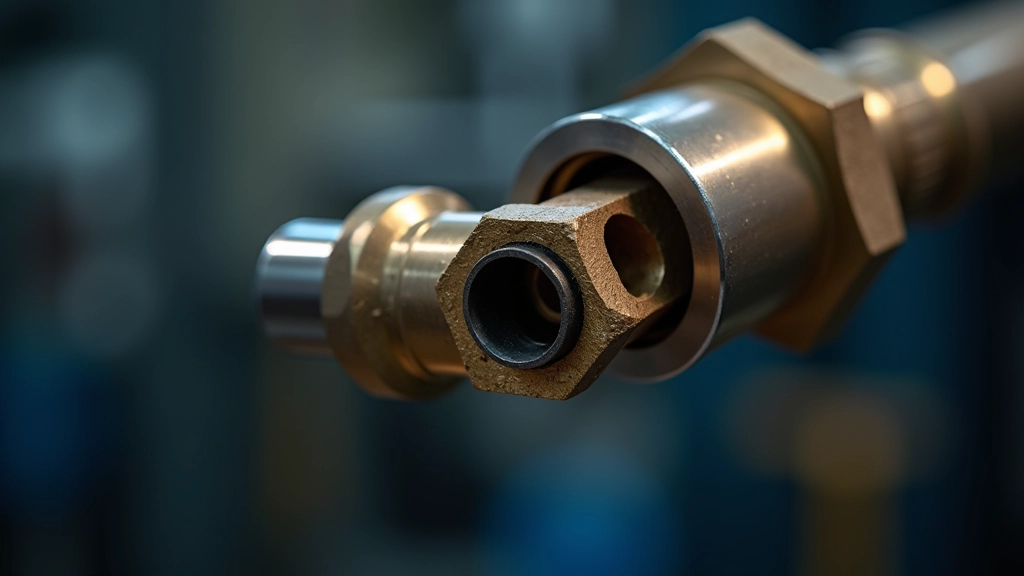
You've now got the complete picture of what proper hose assembly looks like. The steps are straightforward — measure, cut, crimp, test. The tools are affordable. The mistakes are avoidable. What you'll get in return is a hydraulic system that runs reliably and doesn't surprise you with leaks at 2 AM on a Saturday.
Start with a few test assemblies using your new process. Time yourself. You'll probably find that doing it right actually saves time compared to fixing problems later. Once your team gets the rhythm down, assembly becomes routine — the kind of work where quality and speed naturally go together.
Learn the key differences between SAE and JIC fitting standards. We'll cover pre-assembly considerations and when to use each type.
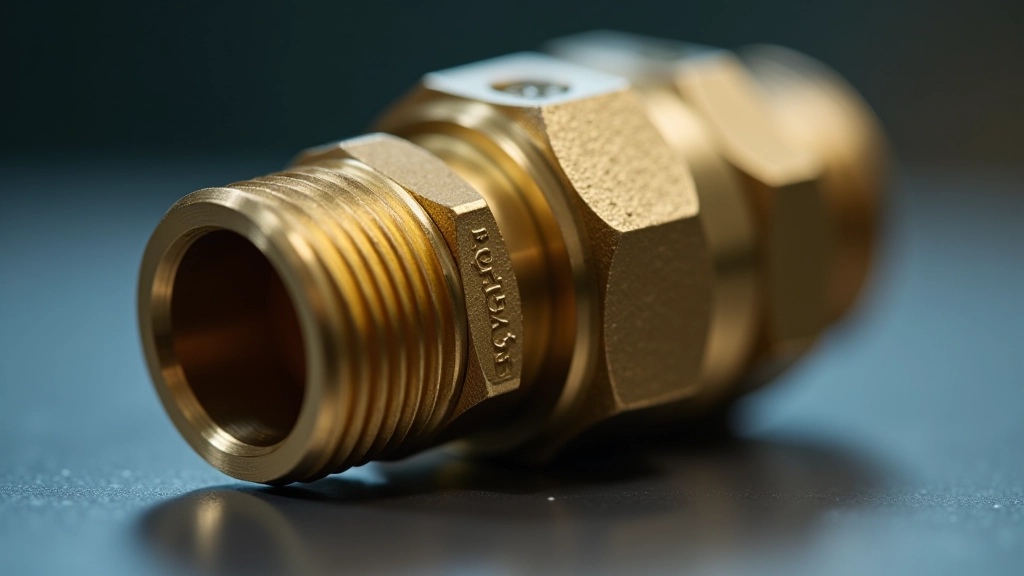
Confused about PSI ratings and pressure classes? This guide breaks down how to match fittings to your system requirements.
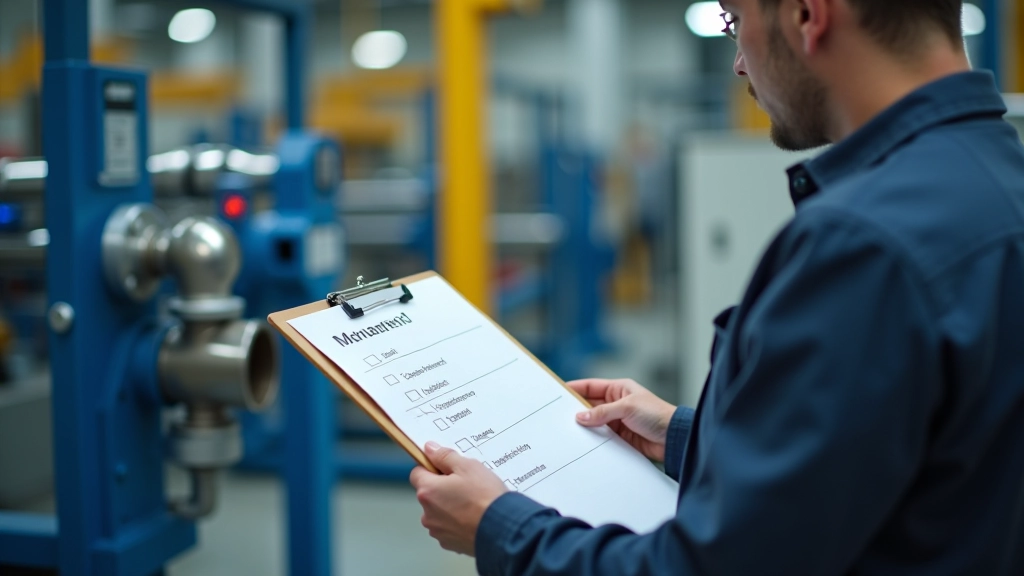
Regular maintenance extends equipment life and prevents downtime. Learn the inspection schedule and techniques that keep systems running.